If you plan to design an iOS app (or maybe already started) you’ll want a clear roadmap that actually makes sense. Our guide is exactly that. Simple, practical, and built around how real apps get made. There’s a lot to keep track of: how it should look, how users move through it, what tools to use, and how to make sure it feels like it belongs on an iPhone.
We’ll walk you through how to design an iOS app, step by step.
What Makes a Great iOS App Design
Let’s start with what good iOS app UI design actually means, because if you don’t have a handle on that, it’s easy to build something that technically works but still feels off.
A well-designed iOS app doesn’t try to reinvent the basics. It respects how people already use their iPhones. That means clear navigation, touch-friendly controls, familiar patterns, and smooth transitions. It doesn’t overwhelm with choices or hide key actions behind guesswork. It feels intuitive, even the first time someone opens it.
Apple’s own design philosophy helps guide this. In their Human Interface Guidelines (often called HIG), they focus on three core principles:
- First, there’s Hierarchy. Your layout should guide the eye. Important actions or info should stand out. Supporting content can fade back a bit. If everything looks equally important, nothing is.
- Next comes Harmony, which is all about making your app feel like it belongs on the device. That means aligning with iOS design language (rounded corners, blur effects, smooth transitions) and making sure your interface works naturally with gestures and system animations.
- Then there’s Consistency. Not just visual consistency within your own app, but consistency with the platform. iOS users have muscle memory. They expect back gestures, standard navigation patterns, familiar icons, and predictable interactions. Stick with platform conventions unless there’s a strong reason not to.
These three are your foundation. If you don’t have one, the whole thing eventually falls apart, no matter how nice the colors are or how slick the animations feel. But there’s still a lot more to it.
5 Stages of the iOS App Design Process
Now let’s get to the actual process.
We’re breaking it down into five clear stages. Just what you need to know, with examples to help make sense of the more abstract parts. The goal is to give you a process you can actually follow, not a lecture on design terms.
Let’s start with the first stage: defining the concept.
1. Define the Concept & Target Users
Every app starts with an idea. That first stage, defining the concept, is where you figure out what your app actually does, who it’s for, and whether it solves a real problem.
Skip this, and you risk designing something that looks good but doesn’t land with anyone.

Write out the core purpose in one sentence. If that’s hard, the idea probably isn’t clear enough yet. Think in terms of user needs, not features. Take iPhone cleaner apps as an example. What do they actually do? They clean up storage, that’s a problem every iPhone user runs into sooner or later, whether they’re on an old iPhone 11 with 64GB or the latest iPhone 16 with a terabyte. So the need is universal.
Clever Cleaner: Free iPhone Cleaner, one of the top apps in that category, nails the pitch in a single line on its official website: “100% free app with no ads or in-app purchases, making it the perfect tool to clean up your iPhone storage effortlessly.” That tells you exactly what it does, why it matters, and what makes it stand out.
That’s the level of clarity you want. Just a plain sentence that says, “Here’s what this app does, and why you might need it.” If you can’t write that out cleanly, pause and rethink the concept before moving on.
2. Map User Flows
Once the concept is solid, the next step is figuring out how people will actually use your app, screen by screen. That’s what user flows are for. You map the path a person takes to complete a task, from the moment they open the app to the moment they’re done.
It doesn’t need to be pretty. You can sketch it out with a pen or use a tool like FigJam or Miro. Start with the core task your app helps someone accomplish.
If it’s a habit tracker, for example, the basic flow might be:
Open app → View today’s habits → Mark one as done → See progress update.
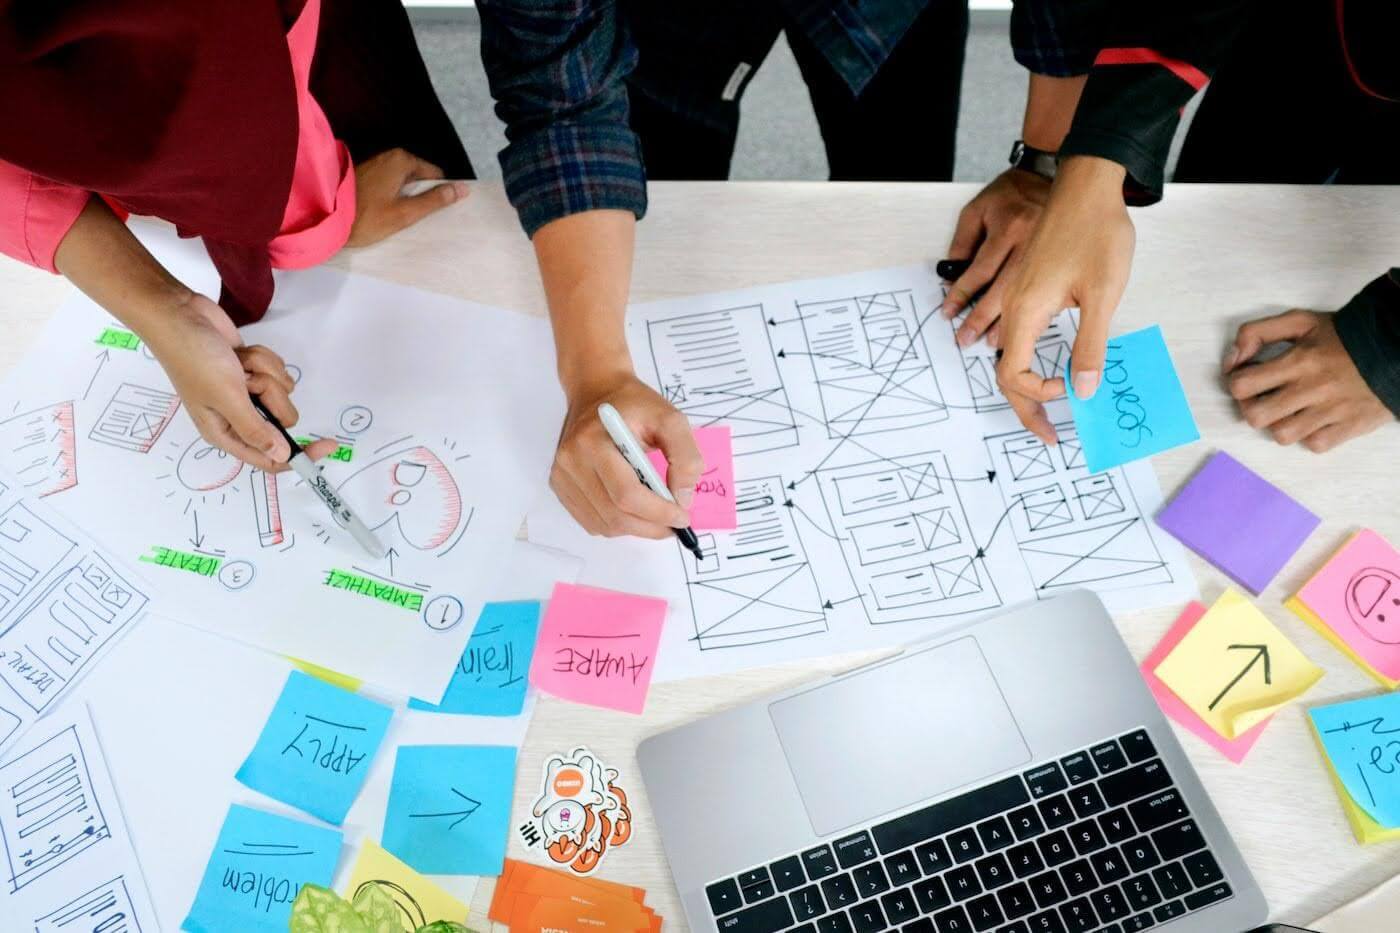
Each box in the flow should represent a decision or a screen. Arrows show what happens next. This helps you spot dead ends, missing steps, or clunky paths before you design anything visual. If users have to go in circles or backtrack just to do something simple, it’ll show up here.
Duolingo does this well. You open the app, and you’re immediately placed in your next lesson. No digging through menus. The app assumes you’re here to learn and puts that front and center. That’s smart user flow design.
User flows help you think like the user. Not what the app can do, but what someone wants to do with it. Once you’ve got that laid out, you’re ready to move into wireframing.
3. Create Wireframes
While some people argue that wireframes can be skipped, we think otherwise. This step gives you room to figure things out before time and effort go into visuals, animations, or working code. Wireframes give you a way to lay out the app’s structure. They’re blueprints. You’re deciding what goes where, how screens are arranged, and how users move from one screen to the next.
Wireframes are supposed to be quick and rough. You don’t need colors, logos, or even real text. Use boxes for images, lines for text, circles for icons. The goal is to test the layout and structure.

This is also the point where you’ll start to see which parts of your user flow need more attention. Maybe that settings screen turns out more complex than expected. Or maybe two screens can be merged. Wireframes let you think through those details before you’re too deep into visuals. If something feels off at this stage, good – you caught it early, when it’s easy to fix.
You can use tools like Figma, Balsamiq, or Sketch. All of them work fine for wireframing.
A good example here would be how the Flighty app structures its flight overview screen. Even in its early layout, the most important info (departure time, gate, delay status) would have needed to be front and center, with secondary actions like sharing or calendar sync placed off to the side. That kind of thinking happens in wireframes.
Just make it make sense. That’s the entire point of this stage. Once you’ve got a layout that flows well and feels logical, then you can start thinking about the visuals.
4. Build Interactive Prototypes
Once your wireframes are in place and make sense on paper (or screen), it’s time to make them clickable. This is where you turn static layouts into something users can actually move through: prototypes that simulate the real flow of the app.
You don’t need full visuals yet. Just connect your wireframes so that buttons, links, and menus behave the way they should. Tap here, go there. Swipe here, open that. That kind of interaction tells you way more than a static screen ever will.
Tools like Adobe XD, Figma, and InVision make this easy. You don’t need to know how to code. You just link screens together and define simple transitions. It’s also where you test if the app feels intuitive. Are users getting stuck? Are they going the long way around for no reason?
This is where rough UX ideas get pressure-tested.
At this stage, you should be showing the app to someone who didn’t help build it. Ask them to do something specific: book something, complete a task, find a setting. Watch where they hesitate or backtrack. That feedback is gold, and it’s way easier to act on it now than after you’ve designed every screen.
5. Finalize High-Fidelity UI Design
And finally, this is where your app starts to look like something real. High-fidelity design is where you take all the structure, flow, and logic you’ve already mapped out and bring it to life.
This is the part most people think of when they hear “designing an app.” Colors, typography, icons, images – the actual look. But by the time you get here, most of the hard decisions should already be behind you.
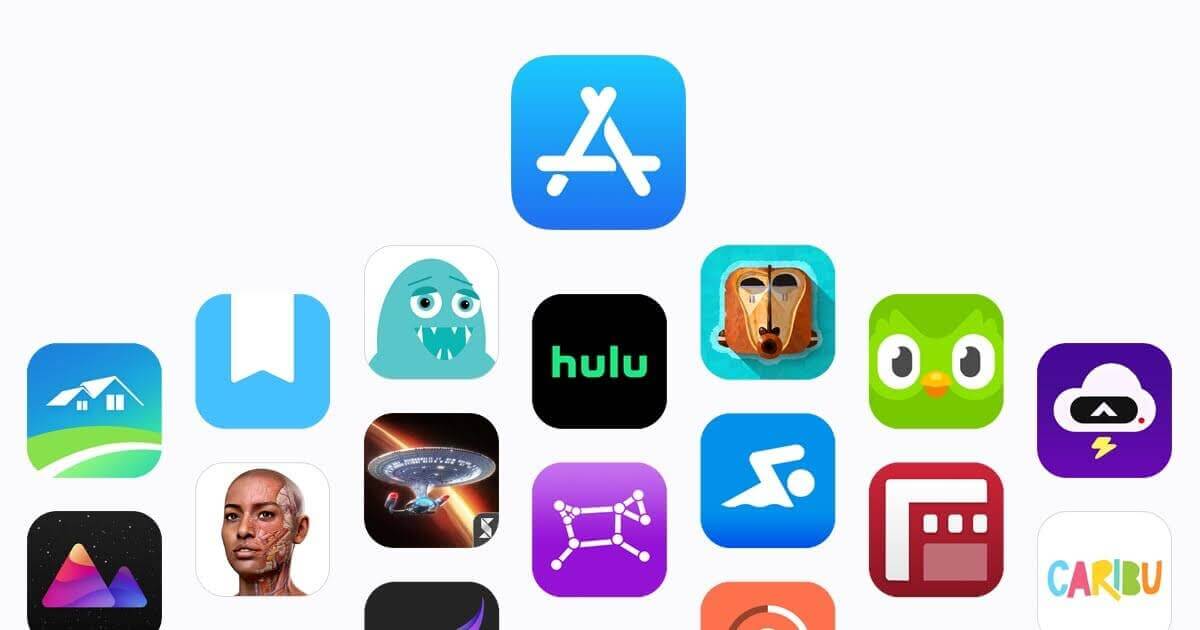
This stage is all about execution.
You’re going to build on top of everything you’ve done so far. The flows are working, the layout makes sense, the prototype feels right. Now it’s time to turn those wireframes into fully styled screens.
- Start with color and type. Stick to a limited color palette. One or two accent colors is usually enough. iOS leans toward clean, light interfaces with subtle depth, but dark mode is standard now, so plan for both. For fonts, Apple’s San Francisco is the default and works well in most cases, but if you use something custom, make sure it’s legible and loads smoothly across devices.
- Then go into components. Buttons, inputs, menus, everything should look and behave the same across your app. This is where design systems matter. Even if you’re not building a full system, keep things consistent. Don’t reinvent common controls just to stand out. Reuse Apple’s native components where it makes sense, especially for navigation, settings, and alerts.
- Spacing and alignment are key here too. If something feels slightly off (even a few pixels), it’ll throw off the whole screen. Use grids, use guides, and check how it looks on different screen sizes. iPhones come in all shapes now, and your layout needs to hold up on every one of them.
- This is also where you prep for real implementation. Export assets in the right resolutions. Name things clearly. If you’re handing off to a developer, make sure they understand how things behave, what scrolls, what’s fixed, what animates. If you’re coding it yourself, this step is where you’ll really appreciate the time spent on wireframes and prototyping.
Want a solid example of clean high-fidelity UI? Look at the Structured app. Its use of space, soft gradients, and crisp typography makes everything feel intentional. Nothing is there by accident, and the UI stays out of your way while still feeling thoughtfully designed. That kind of restraint comes from knowing what not to include.
Finalizing your visuals is important, but it’s not where the design started. It’s the last layer. And if you’ve built everything else on solid ground, this step comes together faster than you’d expect.
Must-Have Tools for iOS App Design
We already named a few tools for iOS app design that gained traction for a reason. They’re reliable, widely used, and cover everything from rough wireframes to prototypes. Let’s take a closer look at the ones worth having in your actual workflow:
- Figma is probably the go-to right now. It’s free to start, works in the browser, and handles everything from basic wireframes to full design systems. You can prototype directly inside it, leave comments, share live links, and even inspect design specs for handoff.
- Sketch used to be the default tool for iOS UI design, and it’s still solid (especially for Mac users). It has tons of iOS templates, great plugin support, and integrates well with tools like Zeplin or Abstract. But it’s local-only unless you pay for team features.
- Adobe XD is another all-in-one option. It’s clean, fast, and handles both UI and prototyping well. If you’re already in the Adobe ecosystem, this might be the path of least resistance. Like Figma, it supports sharing and commenting on design files, plus it has built-in transitions and animations for prototypes.
- Balsamiq is worth mentioning for early wireframing. It’s intentionally low-fidelity, which makes it perfect for layout. Drag-and-drop components, quick sketches, it’s great for early-stage planning or brainstorming with others who don’t have design experience.
- Zeplin comes in later, when you’re ready to hand designs off to developers. It reads design files from Figma, Sketch, or Adobe XD and generates specs, assets, and code snippets to speed up implementation. You don’t absolutely need it, but if you’re not building the app yourself, it helps a lot.
Then there’s Apple’s own resources, like the official Human Interface Guidelines, which we started this article with for a reason, SF Symbols (for consistent icons), and the Apple Design Resources library, which includes iOS UI kits for Figma and Sketch. These give you the building blocks that match the platform’s native look, plus they’re free.
Now, you don’t need all of these. One design tool that fits your workflow plus access to Apple’s guidelines is enough to get going. The important thing is to pick tools that let you move quickly and stay aligned with how real iOS apps are supposed to behave.
Final Tips for New iOS Designers
Before you go, we want to share a couple of quick tips – things we’ve picked up along the way from watching how real teams design iOS apps, test them, and ship them. These aren’t exactly rules, but they’ll save you time and help you avoid common mistakes.
- First, don’t skip device testing. Even if your design looks perfect on your laptop, it’s not real until you try it on an actual iPhone. Tap around. Check touch targets. See how it behaves in dark mode, with large text settings, or on a smaller screen. Tiny layout issues or awkward scroll behavior are easier to catch early than to fix later.
- Second, design for real content (not dummy text or perfect images). Put long names, empty states, weird edge cases into your designs and see what breaks. This is especially important if your app handles user-generated content or anything dynamic.
- Third, accessibility should be part of your process from the beginning. Make sure your contrast is solid, your font sizes are scalable, and your navigation works with VoiceOver. Apple doesn’t treat accessibility as optional, and neither should you.
And finally, stay curious. Look at other apps, not to copy them, but to understand why they feel good (or why they don’t). Pay attention to details. How do they handle empty states? What happens after you tap a button? Which patterns feel familiar and why?
Be sure to frequent the Apple Developer Forums too. You’ll find tons of discussions around UI behavior and real-world problems other designers and developers are solving in the wild. It’s one of the better places to see how Apple’s design guidelines play out in practice.
And remember: it’s never one and done. It’s always a process.


