How To Track Ad Results Using Google Analytics: 5-Step Guide
Mortuza Reza
SEO Specialist - Displate
26.09.2022
Google Analytics is among the most trusted and valuable tools a digital marketer can use.
It gives you an easy way to determine which social media platforms your target audience prefers. It also helps you identify the kind of content they like to engage with and the products and services they are interested in.
Tracking your paid advertisements using Google Analytics is essential. With its interactive graphs and automatically generated reports, the entire process of gathering and understanding ad results becomes a whole lot easier.
If you have never used Google Analytics for this purpose, do not worry! This article dives into how to do it and what metrics you should keep an eye on, among other things.
5 Steps To Use Google Analytics In Paid Advertising
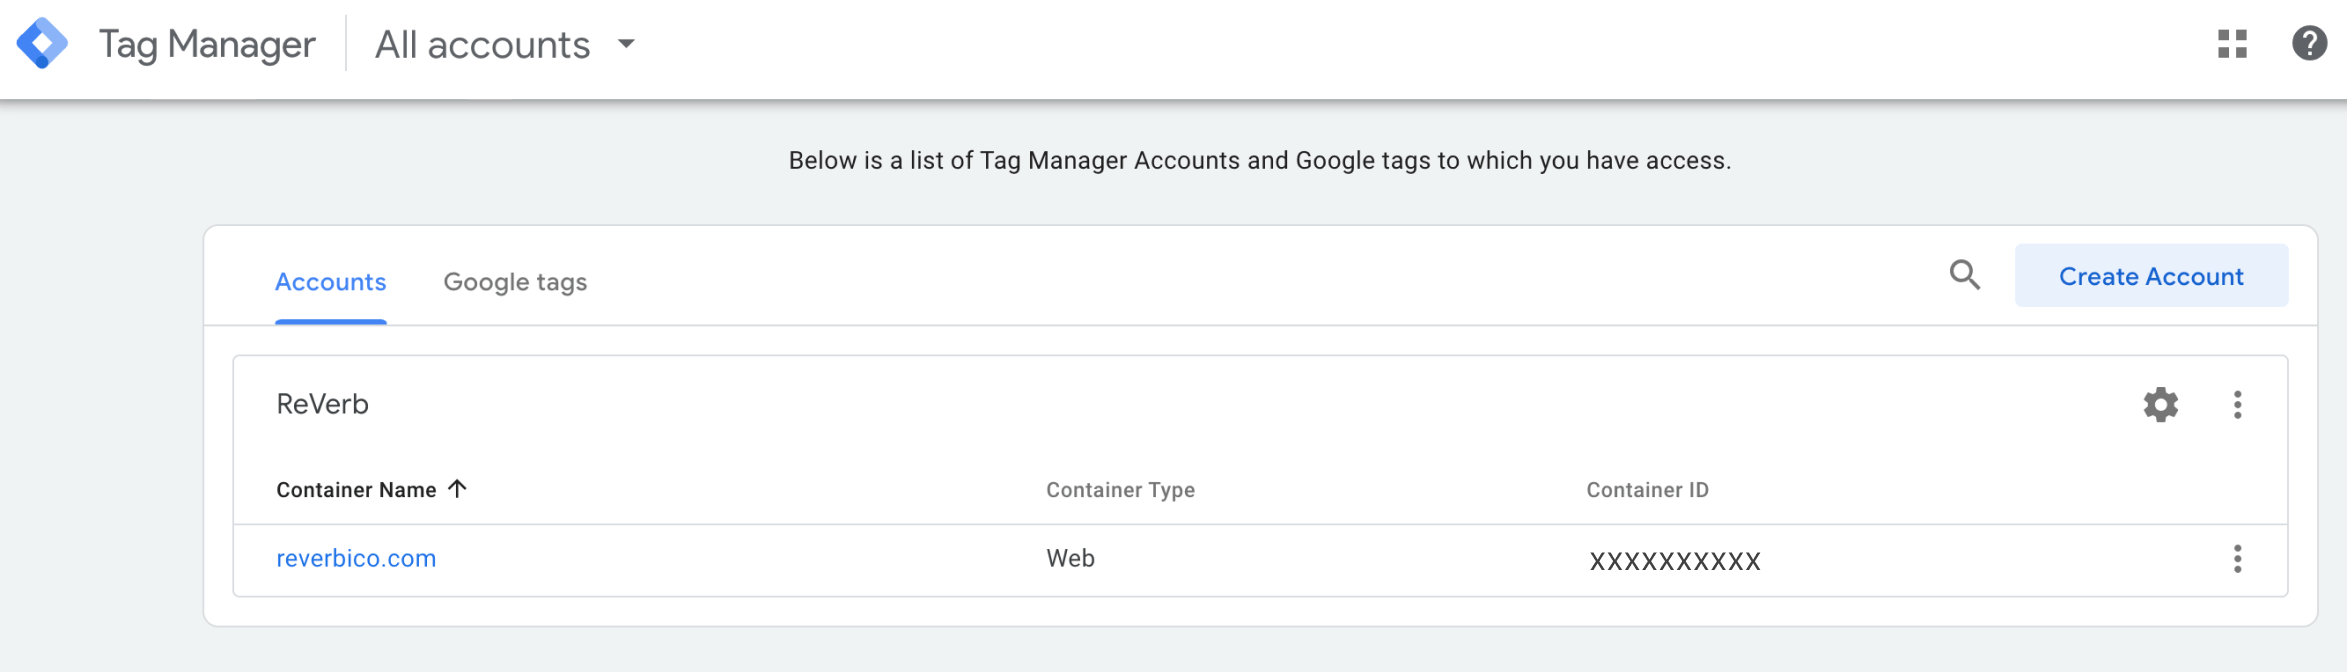
1. Create a Google Tag Manager account
While banner ads monitoring can be performed easier with the help of tools such as Brandly360 or similar ones, Google Analytics can help you track your Google Ads results.
But first, you need to create a Google Tag Manager account. The program allows you to track activity across your website without manually writing code on the backend. It might not seem like much, but it can save you a lot of time and money down the road.
To sign up, you must go to the Google Tag Manager dashboard and create a new account. Then, you have to set up a container, which is a bucket that contains all of the critical information related to your website.
Next, click create and agree to the terms of service. You will then be given two installation code snippets, which you have to copy and paste onto every page of your website. The first one goes into the header, while the second one goes right behind the opening of the body.
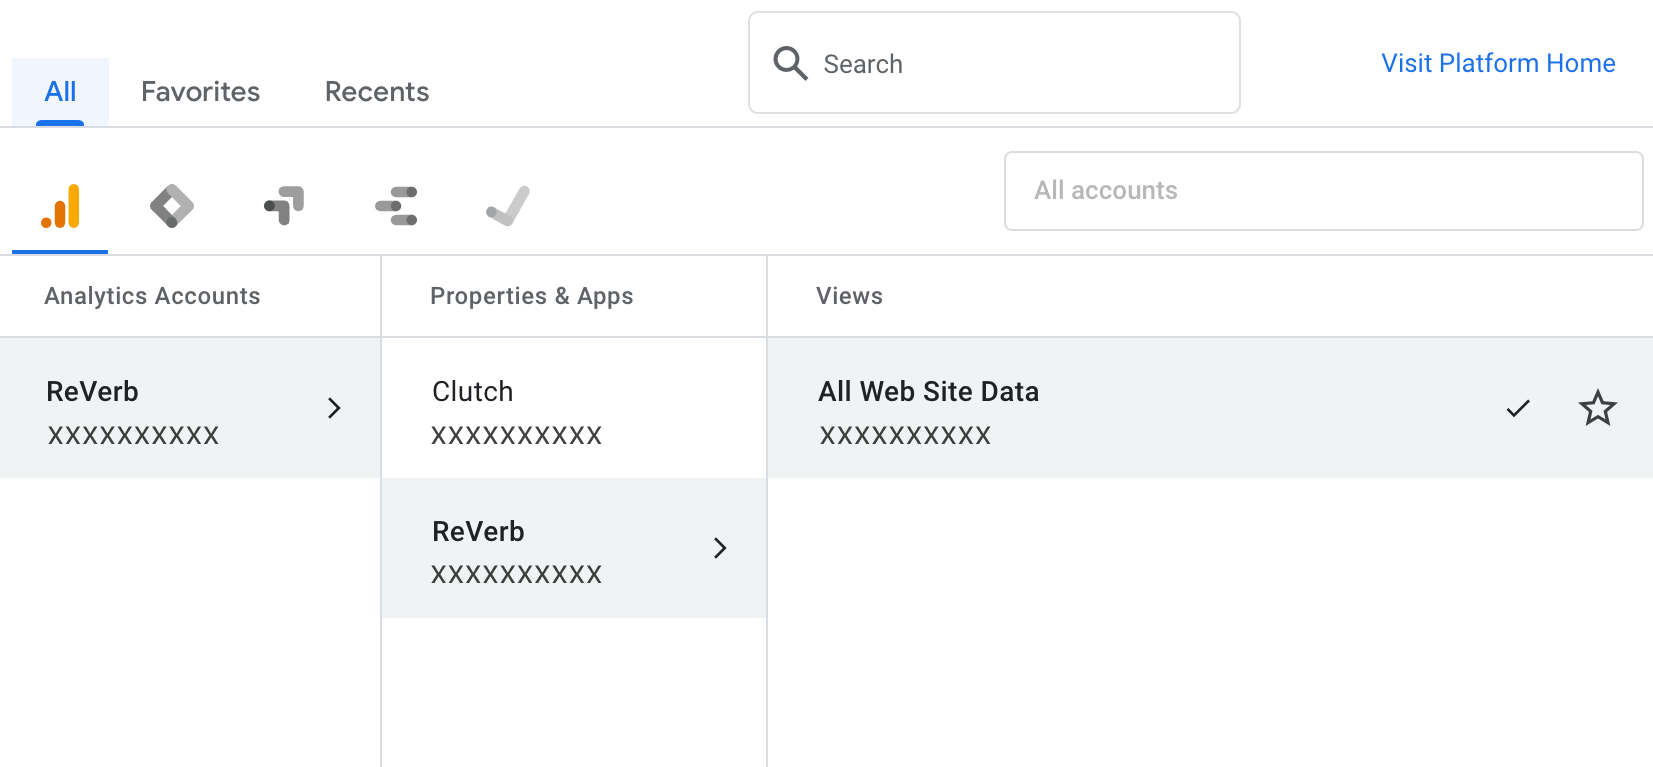
2. Set up a Google Analytics account
Now, let’s create a Google Analytics account. Go to the Google Analytics page, click the “start measuring” button, and type in your website’s name and address. Make sure to select the right industry and timezone if you want the results to be accurate.
Having done that, accept the Google Analytics terms of service to get your Google Analytics ID (a short string of numbers) which tells Google Analytics who should receive your website data.
Keep in mind that this string of numbers is unique to your website. For that reason, you should not share it with anyone publicly.
3. Add Google Analytics tracking tags
After that, you have to set up a new Google Analytics tracking tag for your website. To do that, go to your Google Tag Manager dashboard. Once you are there, click the “New tag” button and select Google Analytics and the desired track type. For instance, Page View can track which pages your users visit frequently.
Then, create a new Google Analytics setting variable by clicking on the “New variable” button. It will take you to a page where you can customize two areas of your tag. The first is called configuration, where the gathered data will go. The second one is called triggering, which determines the data the system will collect.
In the configuration section, you will be prompted to type in your Google Analytics ID and choose the cookie domain. As for the cookie domain, leave this value set to auto.
Go to the triggering section next, click on the “Triggering” button, and choose the “All pages” option so that the tag gathers data from all your web pages. Having done all that, click on the save button.
4. Set Google Analytics goals
To track your ad results, you probably want to keep an eye on the number of people who visit your website and its conversion rate. You can do that by adding specific goals to your Google Analytics account.
Go to your dashboard and click on the “Admin” button in the bottom left corner of your screen. In the “View” column, click on the “Goals” section. There, you can choose the type of goal you want to track.
To save time, choose a goal from a template. For example, you could go for the one that tracks the number of people who created an account.
5. Download a report
After a week or so, download a report on your website’s performance right from Google Analytics. Go to your dashboard and click on the down arrow next to one of the tabs in the reports section.
For instance, to check the effectiveness of your social media ads, you should go to the “Acquisition” tab and then to the “Social” tab. You can access Google Analytics social media reports there, including information on the number of conversions.
Conclusion
To sum up, ad tracking is a vital thing to do if you want to see whether your marketing efforts are paying off. Google Analytics is the perfect tool for this task as it gathers all the necessary information in one place. Moreover, its user-friendly graphs and layout make that data easy to understand and use.
By following the steps above, you should be able to set everything up without any issues. Just remember that the more data you gather, the more accurate your reports will be. While it might be tempting to start drawing conclusions immediately, it’s best to wait for at least a week or two before you do. Doing so will give you a much more accurate idea of your campaign’s performance.